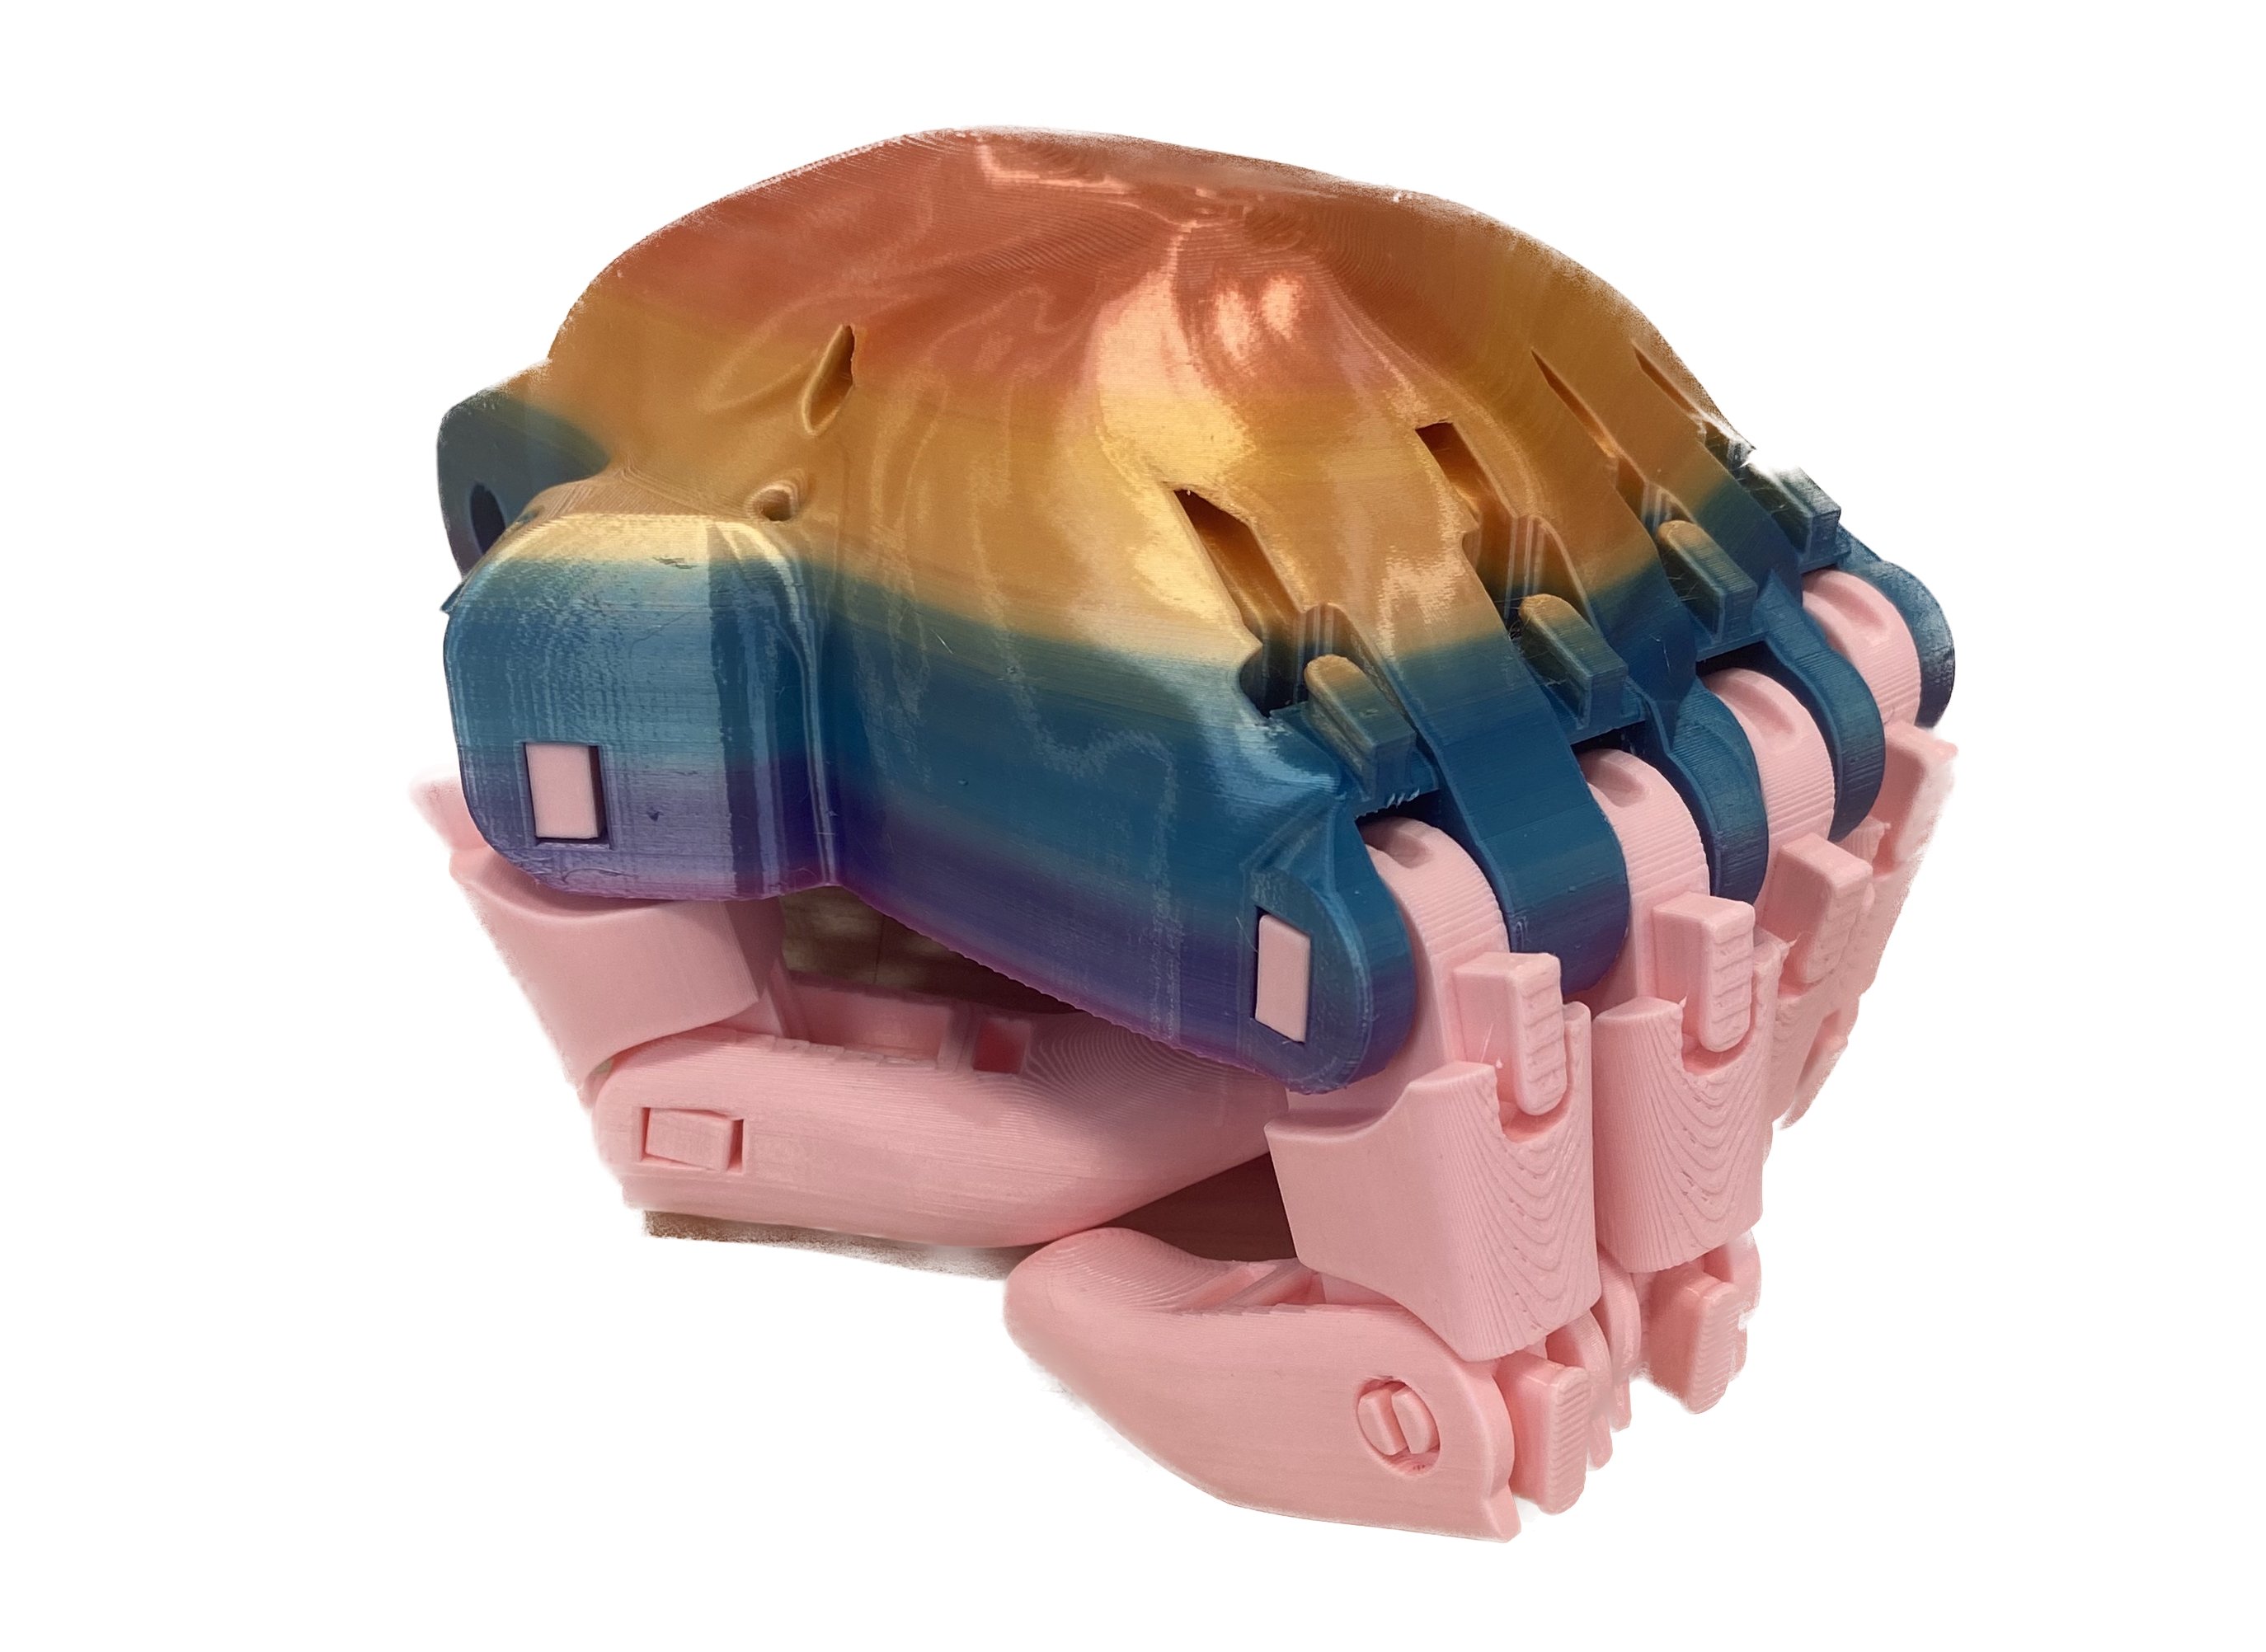
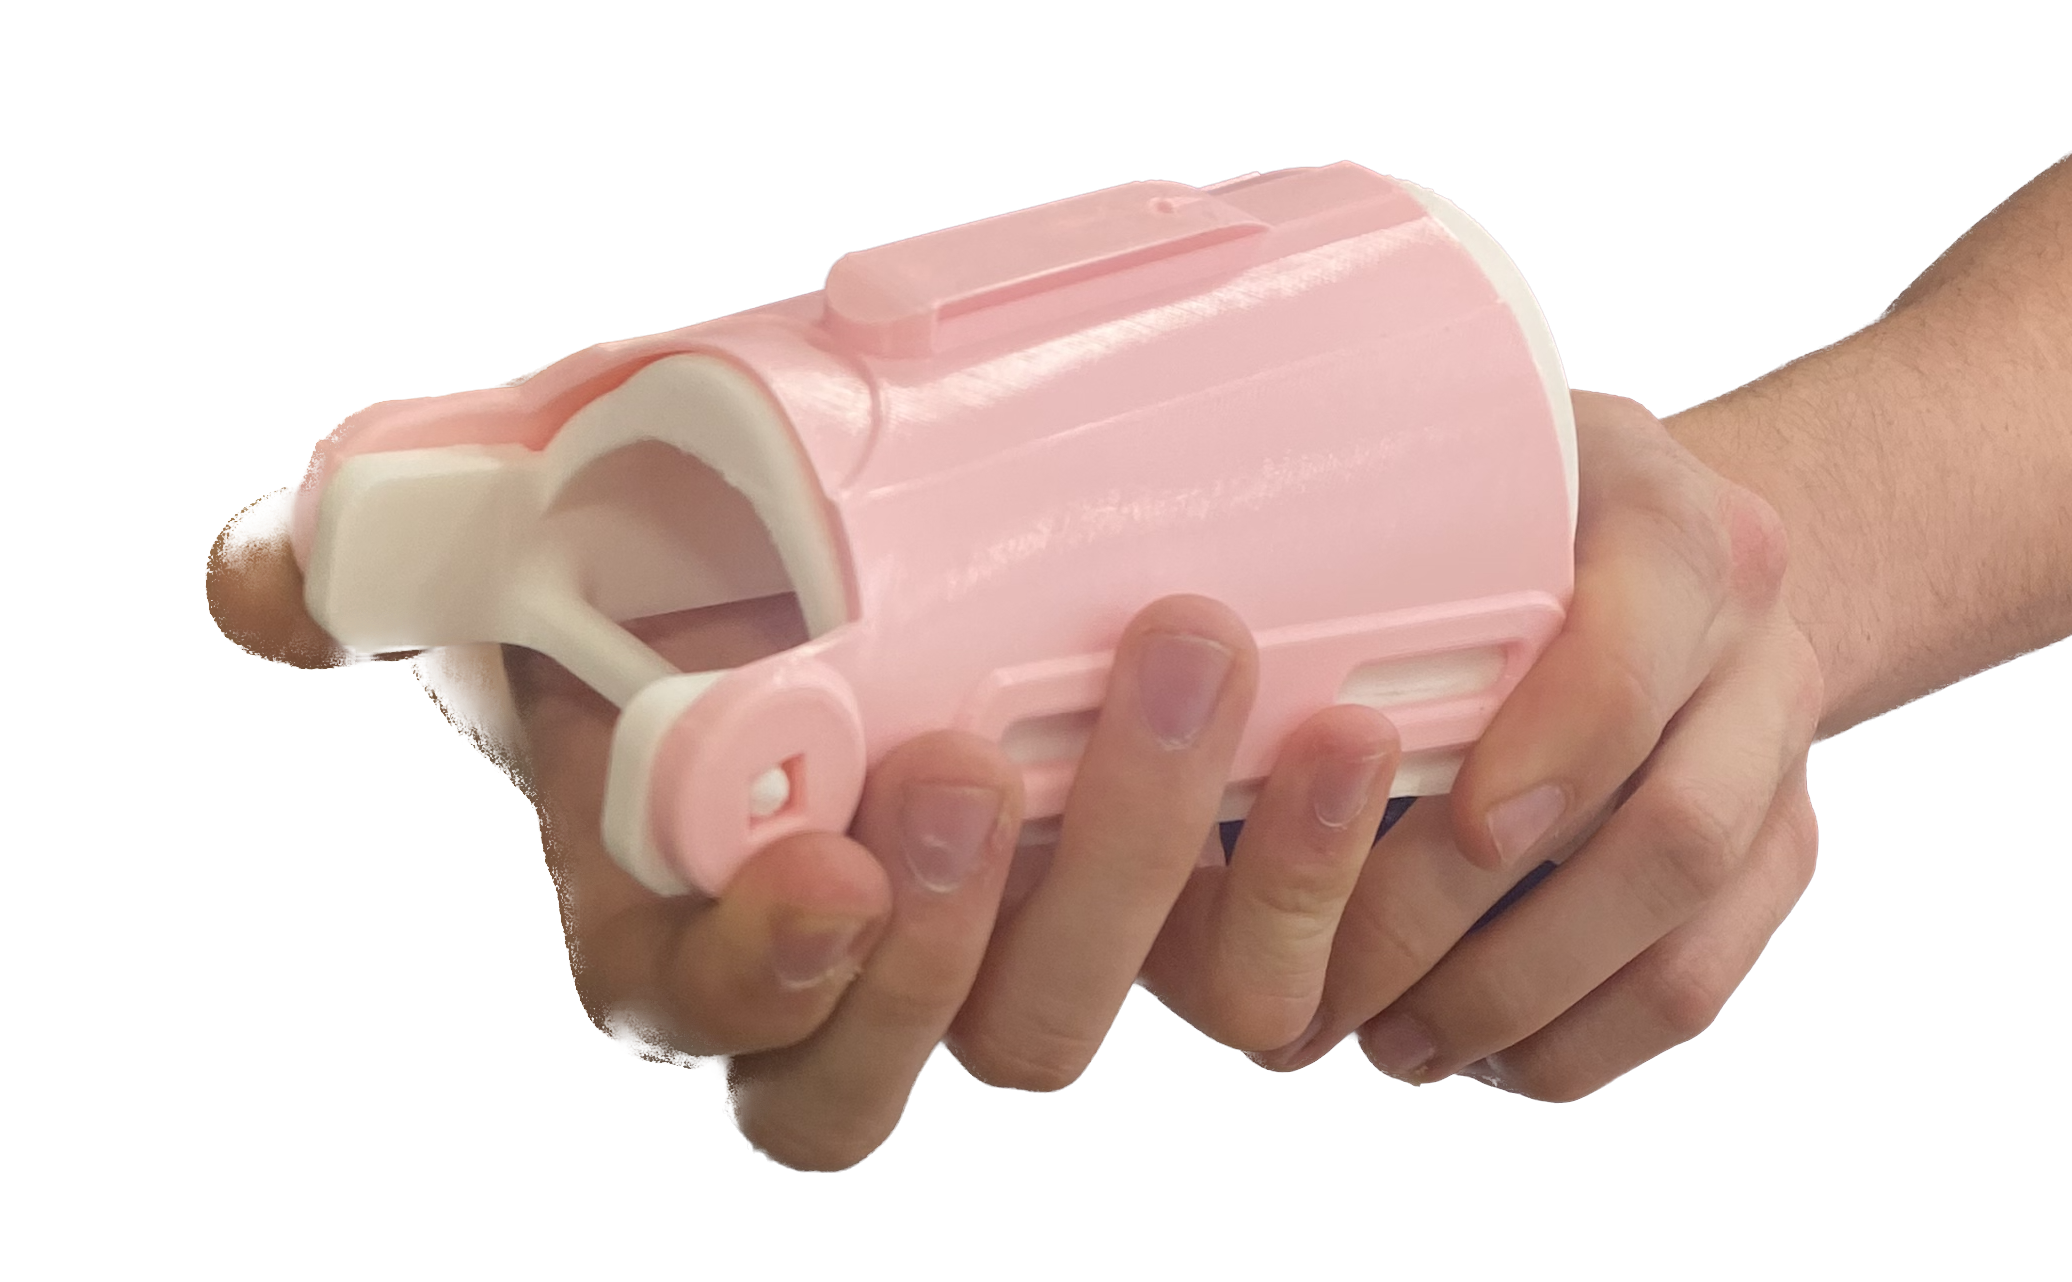
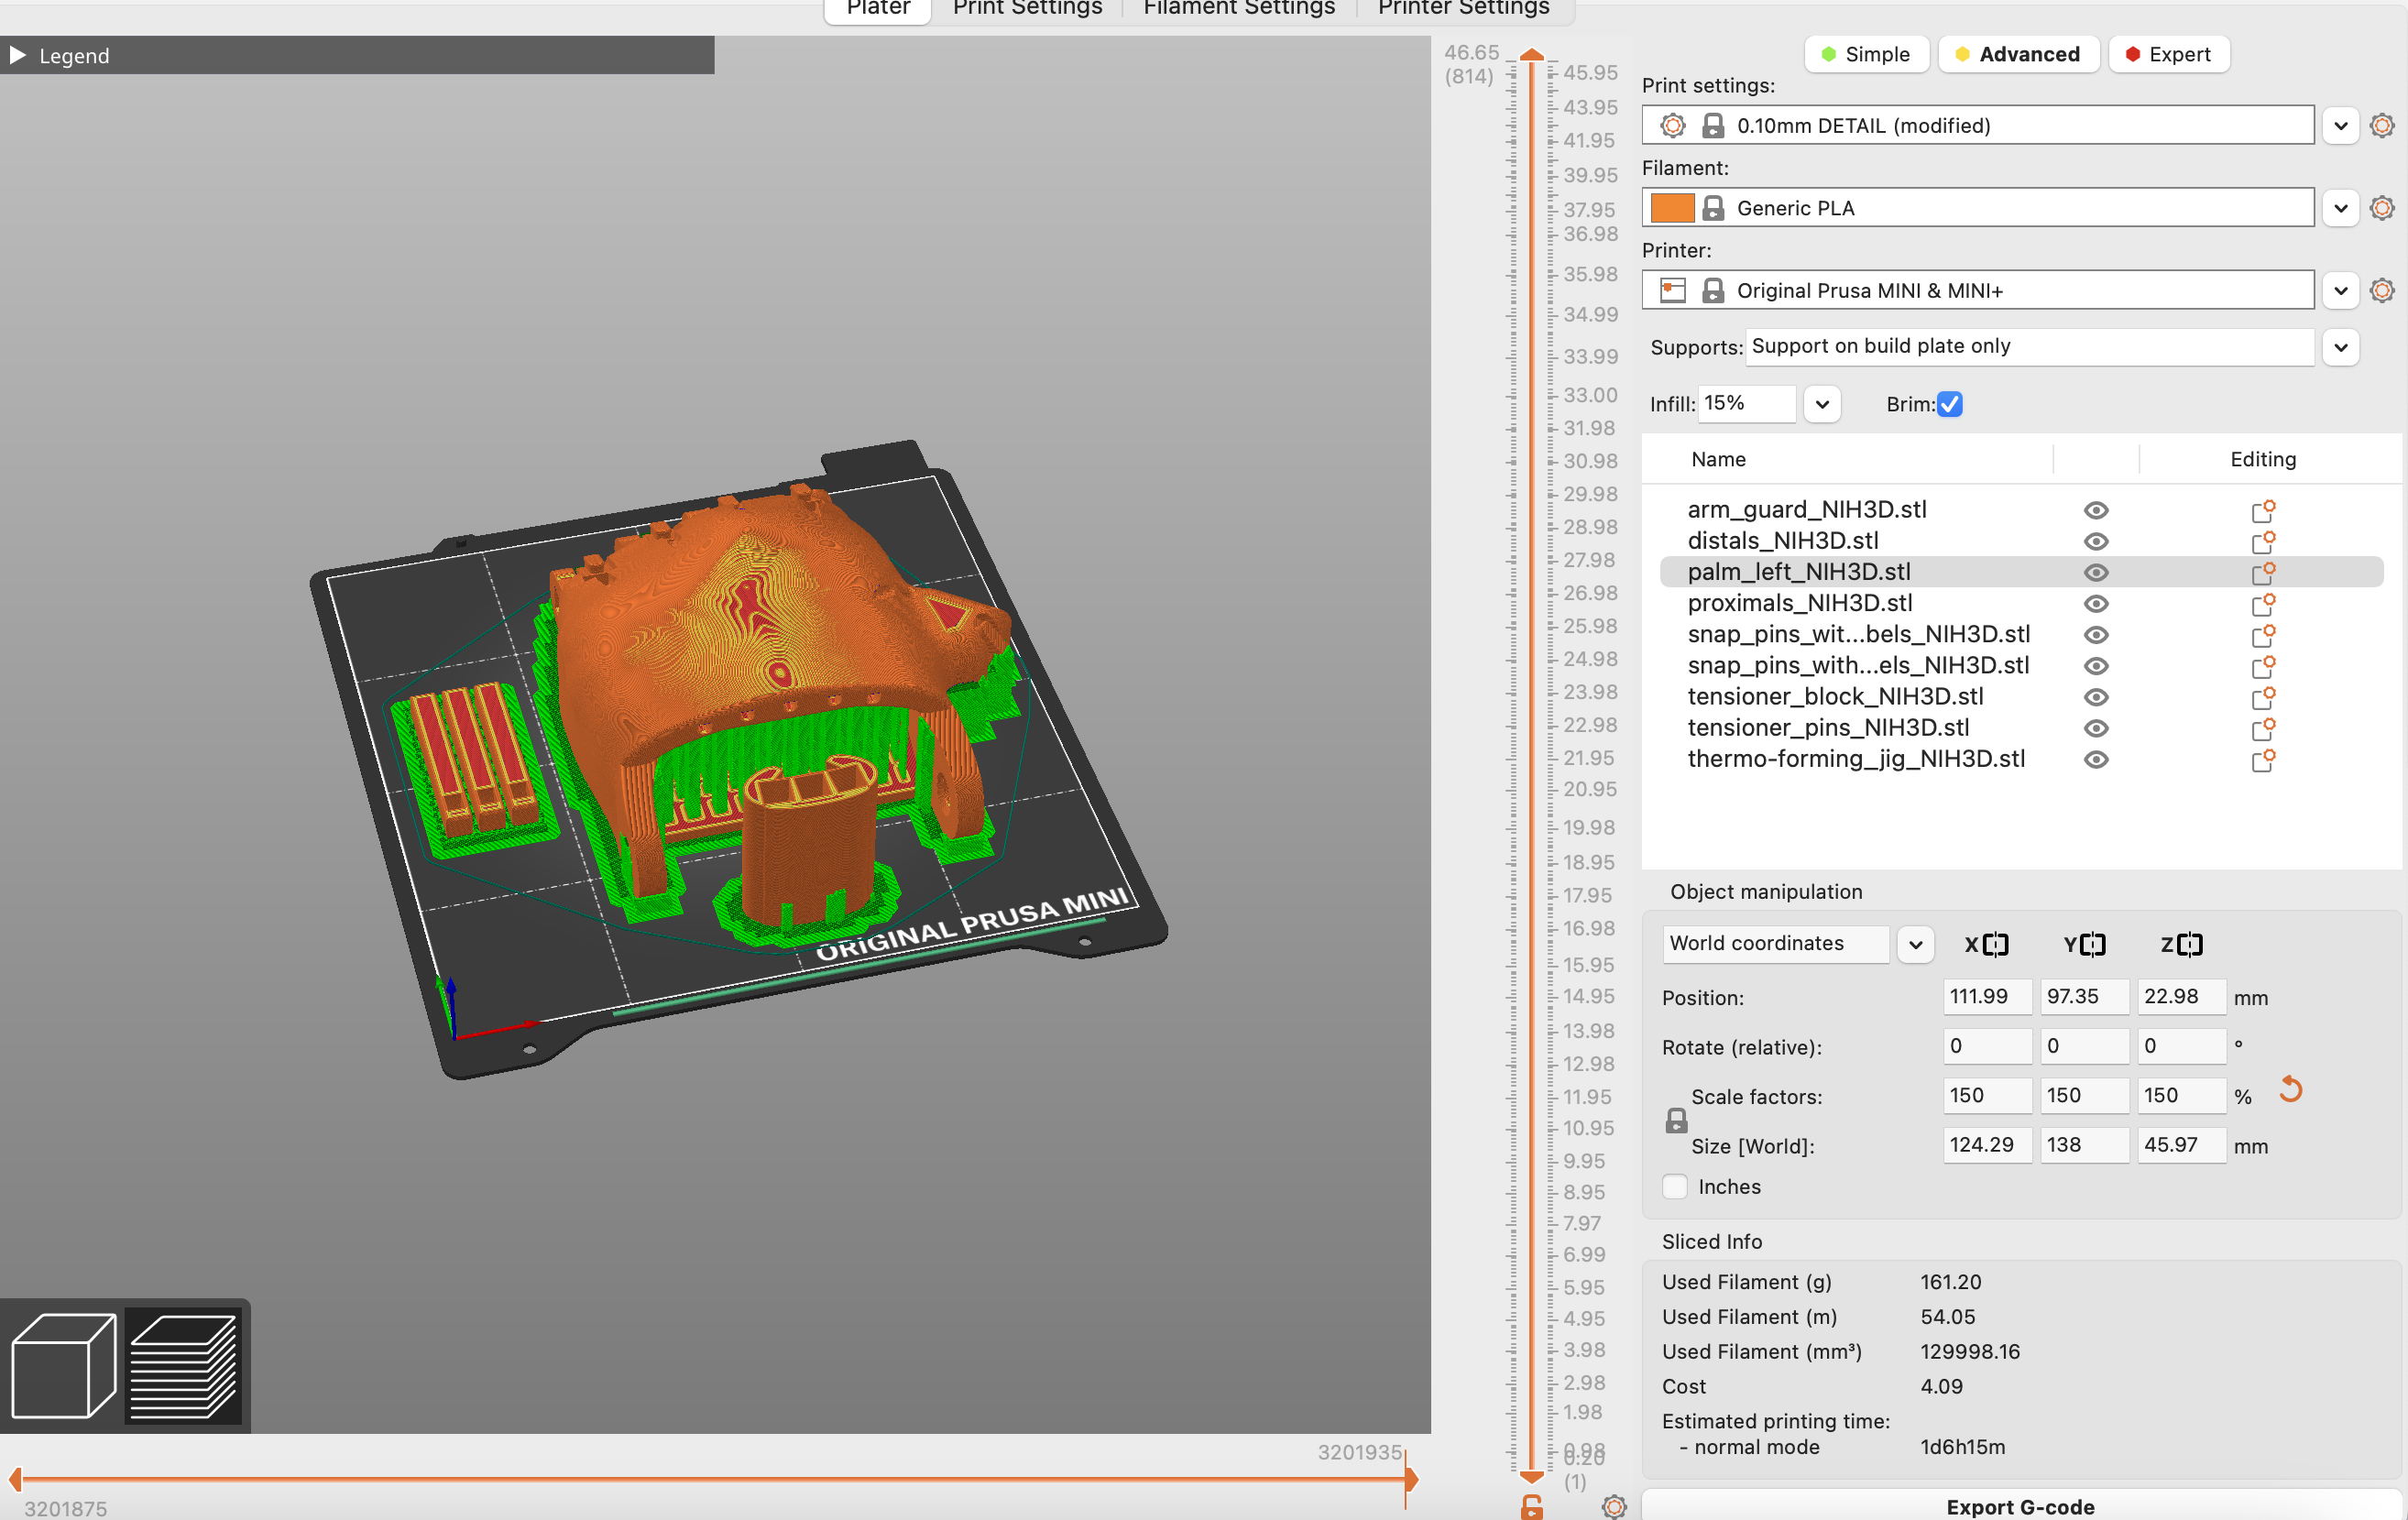
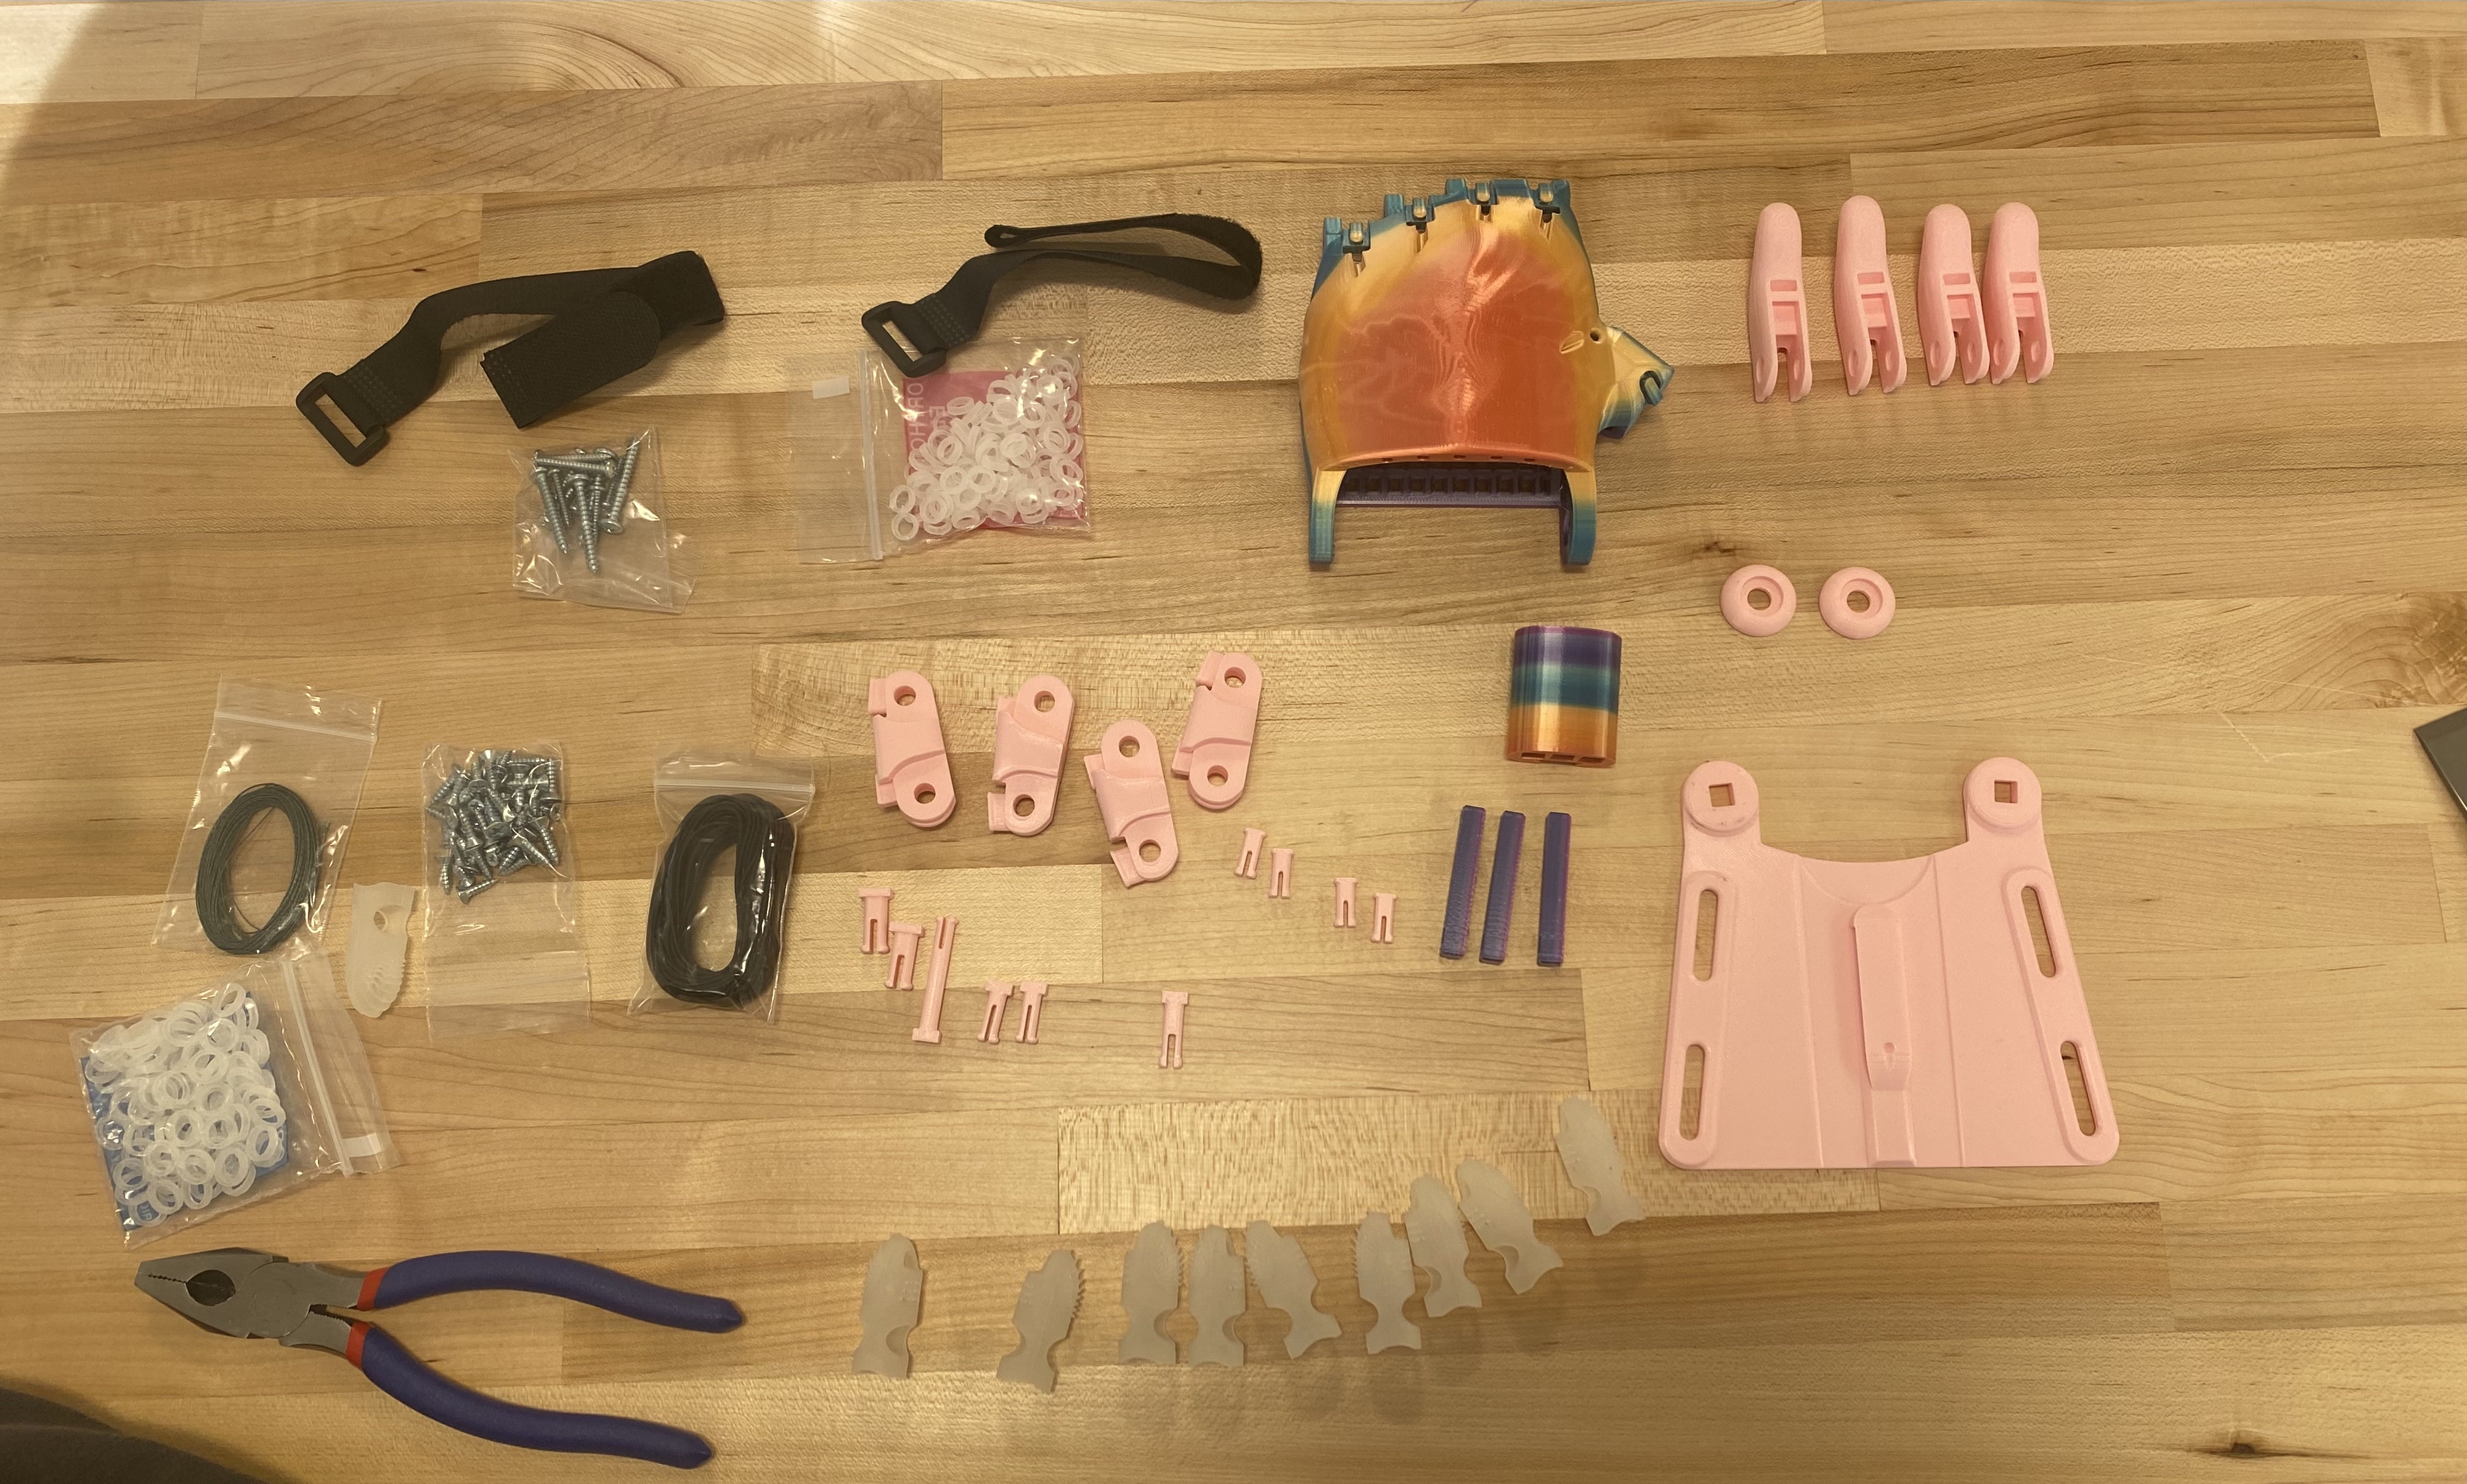
Mark Zhang

Engineering Documentation

Alarm Clock

October 13th, Frisday, 2023

Since last week, I learned necessary skills to print and seemble an e-NABLE hand. The model I chose is Unlimited Phoenix version 3, left hand.

Interactive index

Slice & print Assembly and reflcetion on the guidances Assembly and reflcetion on the guidances (cont.) Final product Troubleshooting Innovative ideas

Slice & print

I first registered as a member of e-NABLE and download the presets of Unlimited Phoenix left hand version 3. I didn't use Raise E2, instead I used Prusa MINI, whose bed is relatively small, considering we were slicing 150% scaled components. Therefore, the whole set of components need to be allocated to two prints. I did one print and my partner did one. In the last project, one failure print was presumably caused by excessive supported. So this time I chose 'supprt on build plate only' instead of 'support everywhere'. And it came out pretty good.

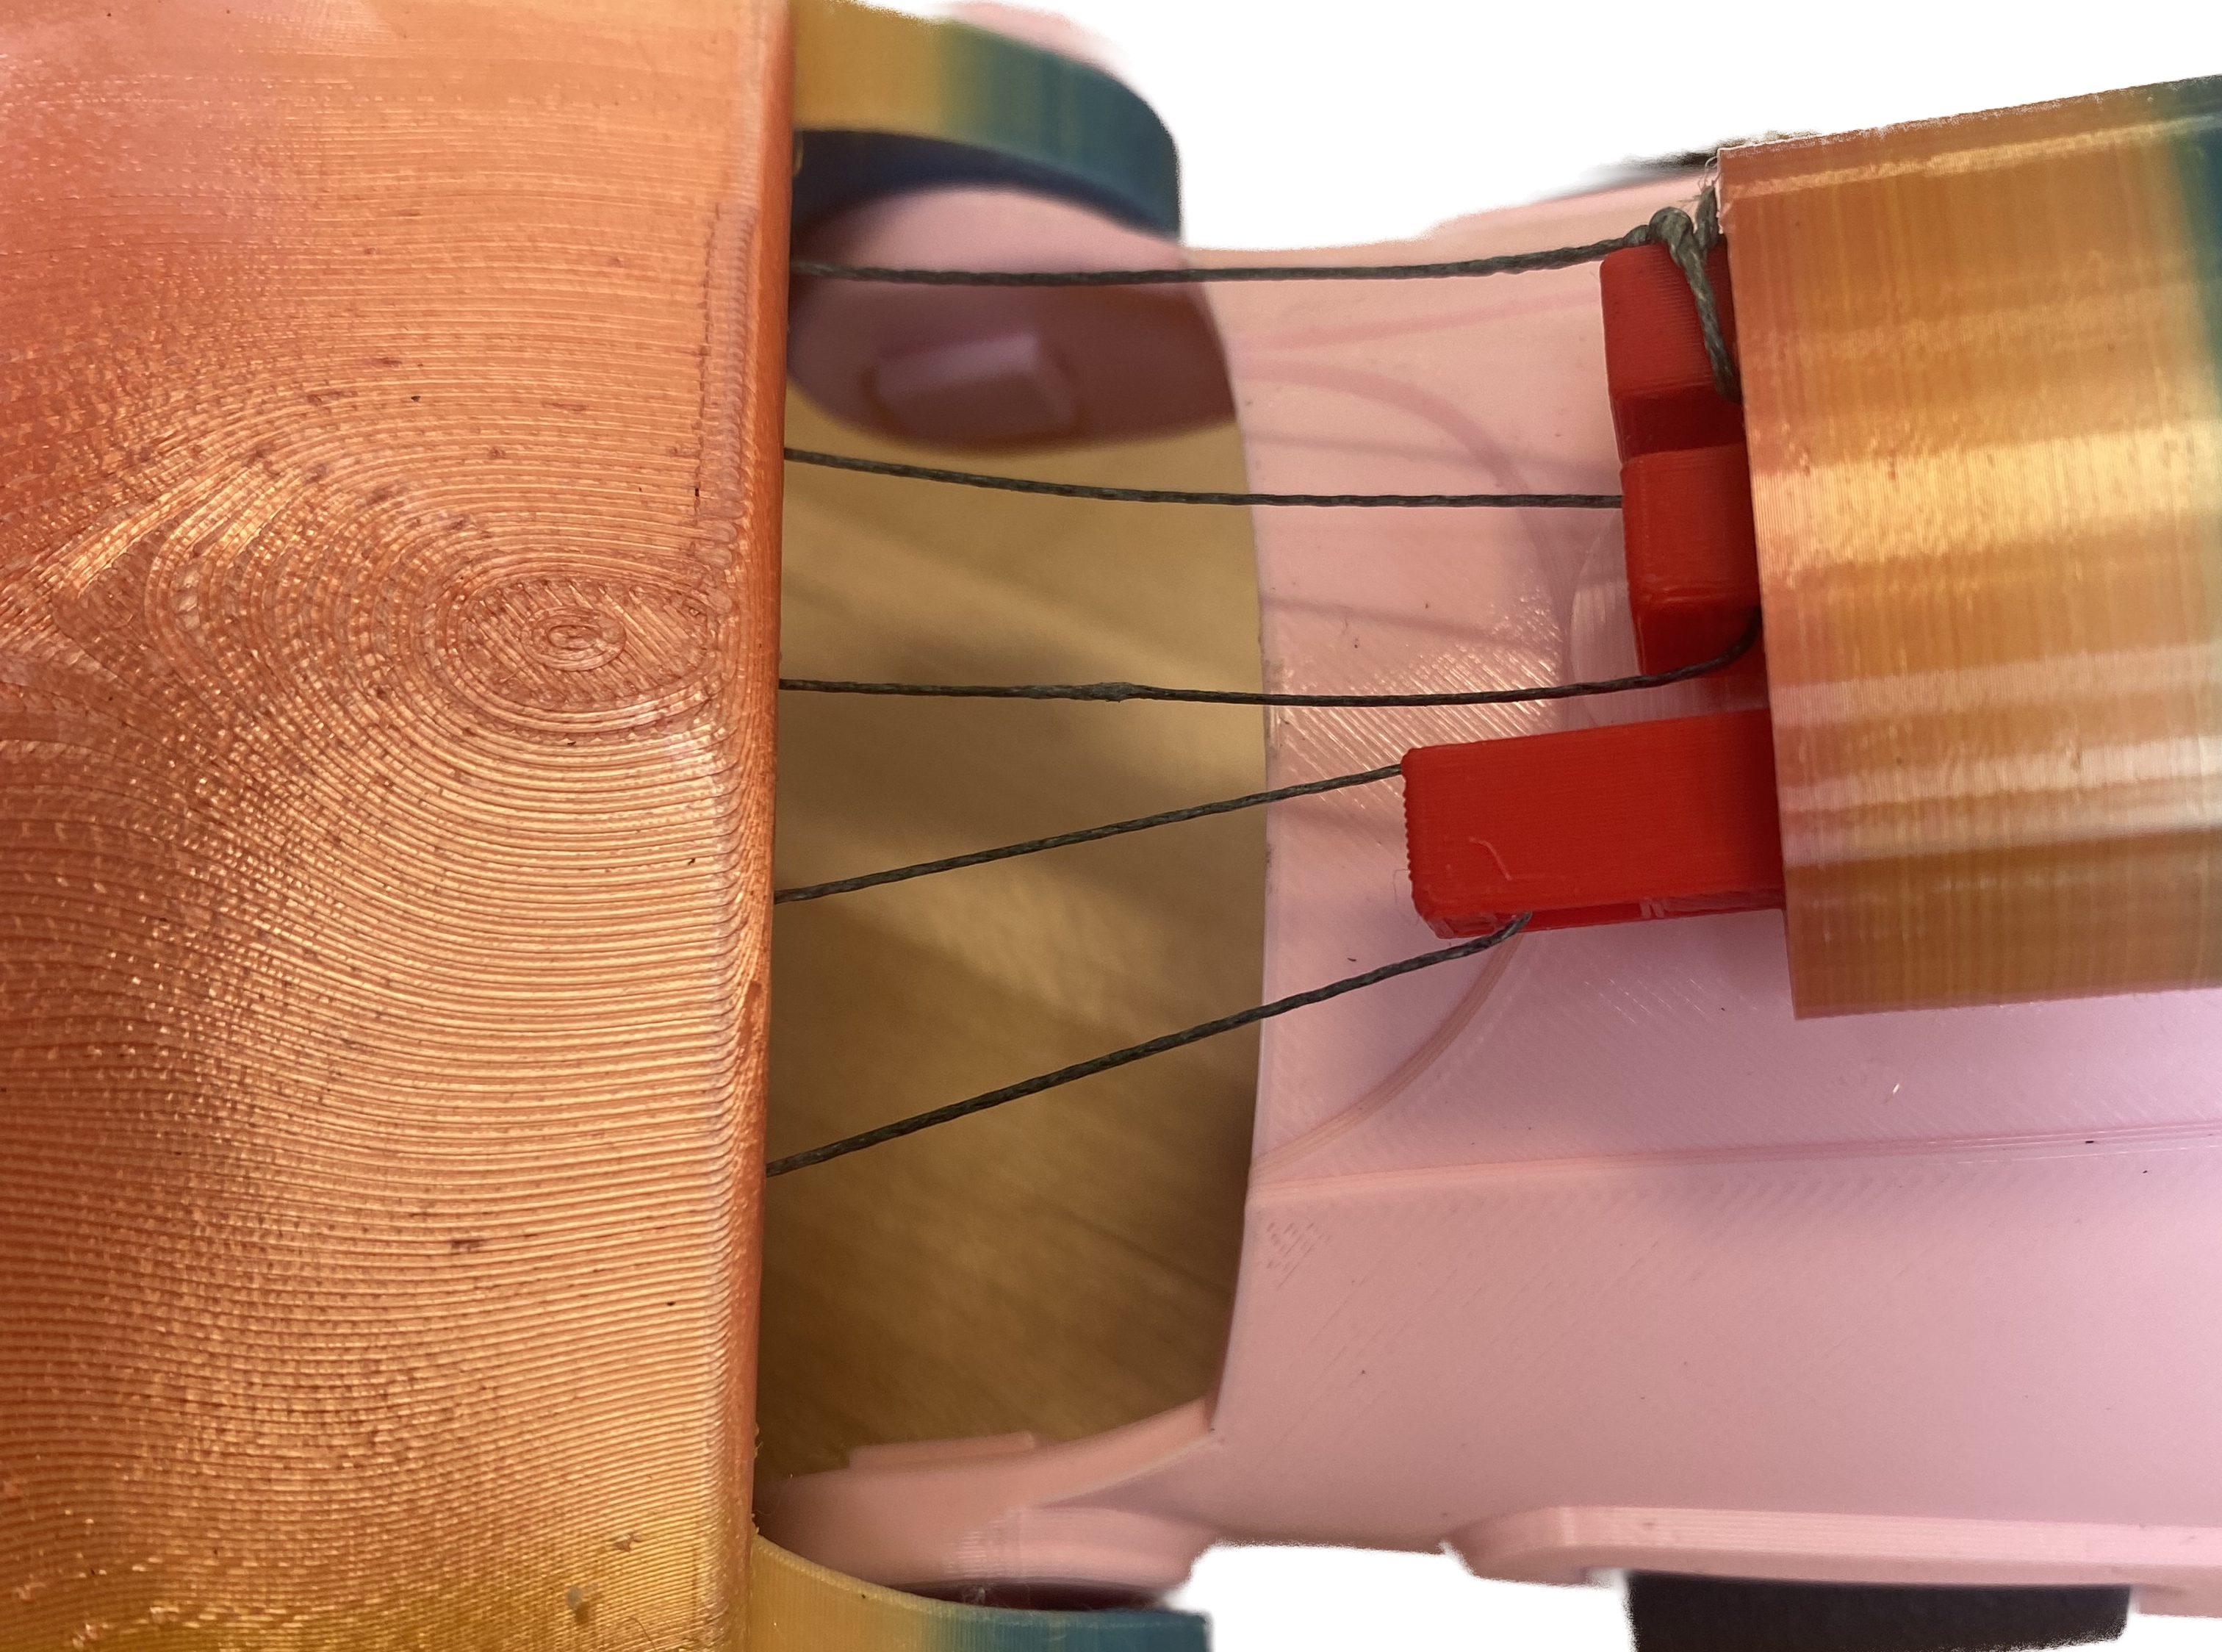
On the day I was printing, almost all the printers experienced filament breakage due to increased indoor moisture. I had to figure out how to reload the PLA filament. Firstly, you should identify where the filament has broken. If it breaks between the filament sensor and the extruder, try to purge the broken part if possible and then unload the remaining broken filament. If the break occurs between the filament sensor and the filament spool, unload or purge the filament beyond the break and let the gear catch it once reloading begins

Assembly and reflcetion on the guidances

The entire assembly process is straightforward. However, many small mistakes can potentially occur if you're not paying close attention. One such mistake we made was not distinguishing the lengths of the plastic bolts. Initially, we followed the assembly manual, which provided better illustrations for differentiating similar components. However, we later switched to an online video tutorial because we found the video instructions more intuitive and efficient. The drawback of video guidance, though, is its poor ability to differentiate similar components. As a result, we stablized the ring and pinky fingers with a thicker, shorter and the two fingers were stuck at the joints. It really took us some effort to take the bolt out of the notches of the palm and fingers. If I'm the documentor of such a video instruction, I would insert a screenshot of the assembly manual to show the differences between the very similar componenets. Vincent helped us to mold the shape of the bracer by heat gun. It just took seconds to form the shape.

Assembly and reflcetion on the guidances (cont.)

I took the hand with me and completed the stringing at home. Stringing is arguably the most challenging part of the assembly. The reason it's challenging is because it's difficult to ensure that the strings have the same tension meanwhile keep the equilibrium angle as 30 degree upward, which is crucial for the fingers to function properly. The assembly manual didn't offer detailed guidance for the stringing process, while the video instruction did. However, neither of them taught me how to tie the string properly to maintain consistent tension. The video I found skipped the tying step entirely, which was quite frustrating. I had to search for additional resources on how to tie the string around a rod while the tension remained stable.

Final Product

After installing the buckles and the gel grip finger tips, the hand is ready for test functionality. The following button will bring you to my demonstration video, in which I tried to use the assembled Unlimited Phoenix left hand to grab a bottle of water.

Troubleshooting

An additional problem I've encountered is that my tension pins do not fit well the m4 screws. It's a little bigger than the m4 screws given in the accessories package. I also tried the m5 screws provided by Prof. Ian. Unfortuanately, m5 ones are a bit greater for my tension pins. But Prof. Ian also has some backups prints and luckily enough there are exactly three backup pins working with m4 screws so I used them as the substitutes. The red of the substitutes make the hand even more colorful :D

Another problem I faced was my trouble in converting an imported mesh into a solid, editable body. Prof. Ian provided some instructions, and I was able to figure it out. The issue was related to the excessive number of meshed triangles when I imported the STL file. The computation load was too heavy for the computer, so I had to first reduce the number of meshed elements and then convert it into a solid body.

Innovative ideas

This Unlimited Phoenix hand has limited ways of motion. Grabbing, gripping, and holding are the maximum accuracy it can do. It might not able to properly use fine utensils such as fork. Therefore, I'm thinking to have two ring on the back of the palm so that you can bind more utensils with Unlimited phoenix hands. Adding hard nails to the gel grip finer tips is also an interesting innvovative idea.

Copyright © Mark Zhang 2023